This is a tutorial on how to use Homecrafter. And no, whatever you make with this utility will not work in The Sims 1 or any of the expansion packs. Not now, not ever. So don't ask or we'll send Mortimer Goth round.
Okay, download and install Homecrafter Plus (you'll need Sims 2 already installed for this to work). Pick your language, agree to the License agreement (you can read it if you want), pick your location (Maxis recommends the default one), and choose to launch the application.

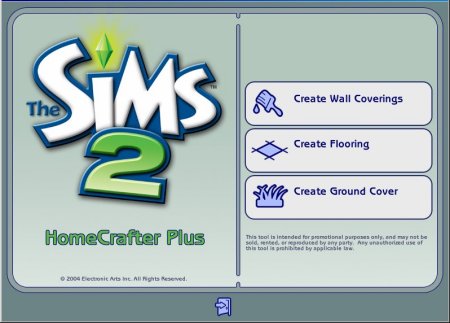
This is the initial screen. It doesn't really matter which one of these you pick here, you can change to make something else from within the program.
In Homecrafter, browse through the wallpapers available and pick something you want your new wallpaper to be based on. We're going to work with the "Red Light District" wallpaper, which is in Paint and in the last column on the third row of the first screen (assuming no custom ones already exist). Select the wallpaper, then click "Clone Selected Content".

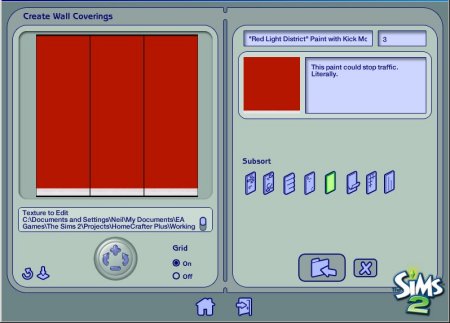
The editing area - everything you need to preview, name and marvel at new wallpaper.
You are now in the editing area. Wallpaper, Floors and Grass are made by simply repeating the same texture across the available space. For floors you can specify how much you want them to tile in this fashion - 1x1, 2x2 or 5x5. When here, you can now rotate the custom content you're editing, either by using the buttons or by clicking and dragging. Rotation is not through 360 degrees but rather under 180. The other buttons on show are for refresh, reset camera and set the price, description and name.
Please be advised that the size of the individual area is 256x512. Tiles are made up by simply sticking multiples of these together side by side.
Last updated at 20:44 2004n Wednesday 22 December 2004.


