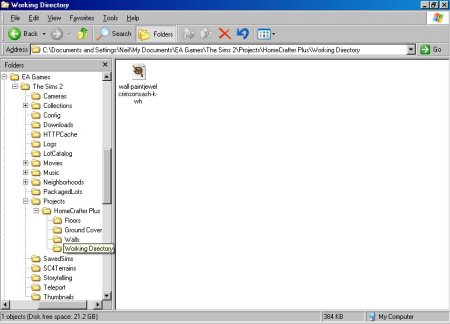
C:\Documents and Settings\xxx\My Documents\EA Games\The Sims 2\Projects\HomeCrafter Plus\Working Directory
(Windows 2000/XP)
C:\My Documents\EA Games\The Sims 2\Projects\HomeCrafter Plus\Working Directory
(Windows 98/ME)
You'll see this now:

Homecrafter is not helpful - this is where you need to go to actually edit your creations
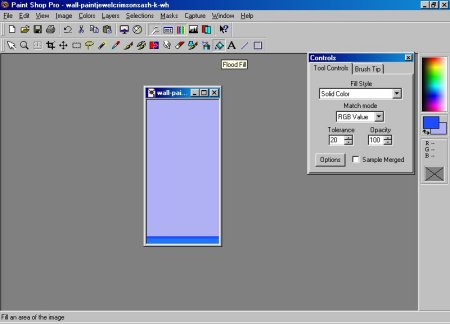
You can use any graphics program you like to make the changes, the file is a standard Windows bitmap so even using Microsoft Paint, installed with all flavours of Windows, will do. For this tutorial we're using Paint Shop Pro. Just double-click the file to load it into the default graphics editor. When done, make some changes.

Edit your file in any graphics program ever to do what you want, make changes and them save them.
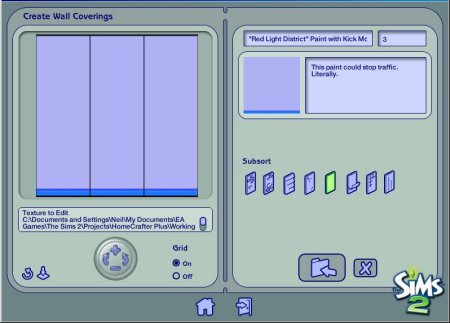
You can of course do a lot more than this but be advised that the image will be tiled so take this into consideration when painting. Remember to save the file. Back in Homecrafter, click the Refresh button. Your new wallpaper shows up.

Click the refresh button, now your work should be viewable and this is how it'll look in the game (roughly)
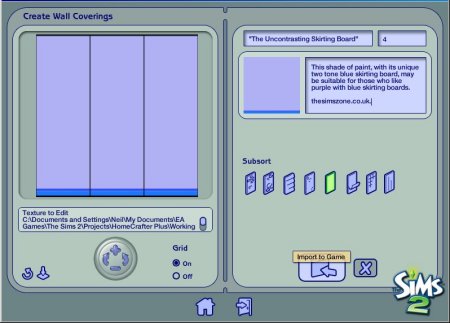
Top right in Homecrafter, you can change the title, the description and the price (in Simoleans, naturally) of this wallpaper. This will be saved along with the file and appear in the game.

Not a very exciting description but for such naff wallpaper would you pay any more than 4 simoleons for this in your house?
Last updated at 20:44 2004n Wednesday 22 December 2004.


